Indoor mould and persistent damp smells are far more than aesthetic annoyances or routine housekeeping chores. In Australia’s diverse climate—ranging from the chilly, high-condensation winter months in Melbourne and Sydney to the intense, humid tropical summers of Queensland—mould is a serious structural and biological hazard. Modern, energy-efficient homes often […]
Air is clean and safe. No health risks expected. Everyone can enjoy outdoor activities without concern.
PM₂.₅
1.26
PM₁₀
3.43
SO₂
2.5
NO₂
3.24
O₃
80.36
CO
121.57
Table of Contents
Share
Today’s Air Quality
London, GB
1:32 PM
Air QualityGood
Air is clean and safe. No health risks expected. Everyone can enjoy outdoor activities without concern.
PM₂.₅
1.26
PM₁₀
3.43
SO₂
2.5
NO₂
3.24
O₃
80.36
CO
121.57
Indoor mould and persistent damp smells are far more than aesthetic annoyances or routine housekeeping chores. In Australia’s diverse climate—ranging from the chilly, high-condensation winter months in Melbourne and Sydney to the intense, humid tropical summers of Queensland—mould is a serious structural and biological hazard. Modern, energy-efficient homes often trap moisture inside, turning living spaces into unintended breeding grounds for fungi.
This comprehensive, science-backed manual outlines how to safely identify, clean, and permanently prevent mould and its accompanying musty odours. Based on guidelines from Australian consumer advocate CHOICE, state health departments (including Victoria’s Better Health Channel), and environmental microbiology, this guide provides a step-by-step roadmap to reclaiming your home’s air quality.
Why Does My House Smell Musty?
If you detect a damp, earthy, or faintly sweet odour in your home, you are smelling active fungal digestion. A persistent mould smell in bedroom no visible mould usually indicates hidden colonies trapped inside wall cavities, under carpet underlay, or behind built-in wardrobes. Even if you clean visible surfaces regularly, what causes musty smell in house environments is the continuous release of gases from hidden fungal roots feeding on structural timber and drywall backing.
If you are wondering why house smells musty even after cleaning, it is because surface scrubbing fails to address these concealed growth pockets.
What Are MVOCs?
The characteristic damp odour comes from Microbial Volatile Organic Compounds (MVOCs)—gaseous chemical byproducts (primarily geosmin and 1-octen-3-ol) released into the air column as living fungi grow, digest organic materials, and reproduce. Because these gases evaporate at room temperature, they easily bypass physical barriers and diffuse through soft furnishings. When humidity levels rise, active spore germination accelerates this gaseous output. Wiping away visible stains or spraying synthetic air fresheners will not solve the problem. Achieving permanent damp musty smell removal requires cutting off the moisture source and eradicating the active fungal colony releasing these volatile compounds.
The Biological and Neurological Health Risks
Inhaling airborne mould spores, fungal fragments, and MVOCs on a regular basis bypasses your body’s natural upper respiratory defenses, leading to a spectrum of mould sickness symptoms:
Acute Allergy and Respiratory Symptoms: Sneezing, nasal congestion, allergic rhinitis, watery eyes, sinus irritation, chest tightness, coughing, and wheezing.
Systemic and Neurological Impacts: Prolonged exposure to mould-related volatile compounds can trigger chronic headaches, severe fatigue, cognitive issues (such as brain fog), and disrupted sleep patterns due to compromised nighttime breathing.
The Mycotoxin Hazard: Resilient toxic species like Stachybotrys chartarum (toxic black mould) secrete highly hazardous chemical compounds called mycotoxins. These toxins cling to the outer shells of spores and penetrate deep into lung tissues, triggering severe immune system inflammatory reactions in vulnerable occupants.
Structural and Asset Destruction
Fungal organisms survive by secreting corrosive enzymes that trigger cellulose breakdown in biological materials. As hyphae root penetration deepens into porous building components, mould actively feeds on the paper backing of plasterboard, rots structural timber frames, and destroys high-value personal assets, including soft furnishings, carpets, and luxury leather goods stored in dark wardrobes.
Getting Ready for Mould Removal
Mould remediation is a hazardous task that releases millions of concentrated spores into your breathing zone. Before touching any contaminated surface, you must establish strict safety protocols.
Why Standard Medical Masks Fail
Standard surgical masks and cloth face coverings cannot filter microscopic mould spores or bacterial fragments. For safe remediation, you must wear a respirator mask rated P1, P2, or N95 (available at local hardware stores).
The Seal Constraint: Face masks rely entirely on a tight physical seal. If you have a beard or significant facial hair, the seal will be compromised, rendering the respirator significantly less effective.
Breathing Resistance: Respirators restrict airflow and make it harder to breathe normally. Anyone with pre-existing heart or lung conditions should consult a medical professional before undertaking cleanup work.
Essential Personal Protective Equipment (PPE)
When entering a contaminated area, equip yourself with a full safety kit:
A P2 or N95 respirator mask.
Heavy-duty rubber or nitrile gloves.
Safety goggles (non-vented to protect eyes from airborne spores).
A shower cap or protective headwear (to prevent spores from settling in your hair).
Overalls or clothing that covers your entire body (wash these separately on a hot cycle immediately after the task).
Sealed, waterproof footwear or rubber boots.
High-Risk Groups – Who Must Avoid the Area?
Certain individuals are highly sensitive to mould exposure and must never participate in mould removal or remain in the vicinity during cleanup:
Pregnant women and young children.
Individuals with weakened immune systems.
People with chronic lung diseases, such as Chronic Obstructive Pulmonary Disease (COPD).
Asthma Warning: If you have asthma and must perform minor cleanup, keep your reliever medication with you at all times. If you experience any breathing difficulty, immediately leave the room, seek fresh air, and execute your Asthma Action Plan.
Pre-Remediation Room Setup
Never Dry Brush Mould: Dry brushing or dry sweeping is a critical mistake. It flings millions of viable spores into the air, causing them to spread to unaffected areas and dramatically increasing inhalation hazards. Always wet-treat surfaces.
Pre-Sanitise the Air: Run a HEPA-equipped air purifier or air scrubber in the room for 24 hours prior to starting your physical cleanup. This helps lower the baseline airborne spore concentration, making the physical scrubbing phase exponentially safer.
Surface Assessment and the Chemistry of Fungal Destruction
Not all surfaces can be saved, and not all cleaning agents are created equal. Understanding the materials in your home and the chemistry of your cleaning products is the key to permanent eradication.
Categorising Household Materials
Before applying any liquid, assess the porosity of the affected surface:
Mould Remediation by Material
Material Category
Examples
Remediation Action
Super-Porous
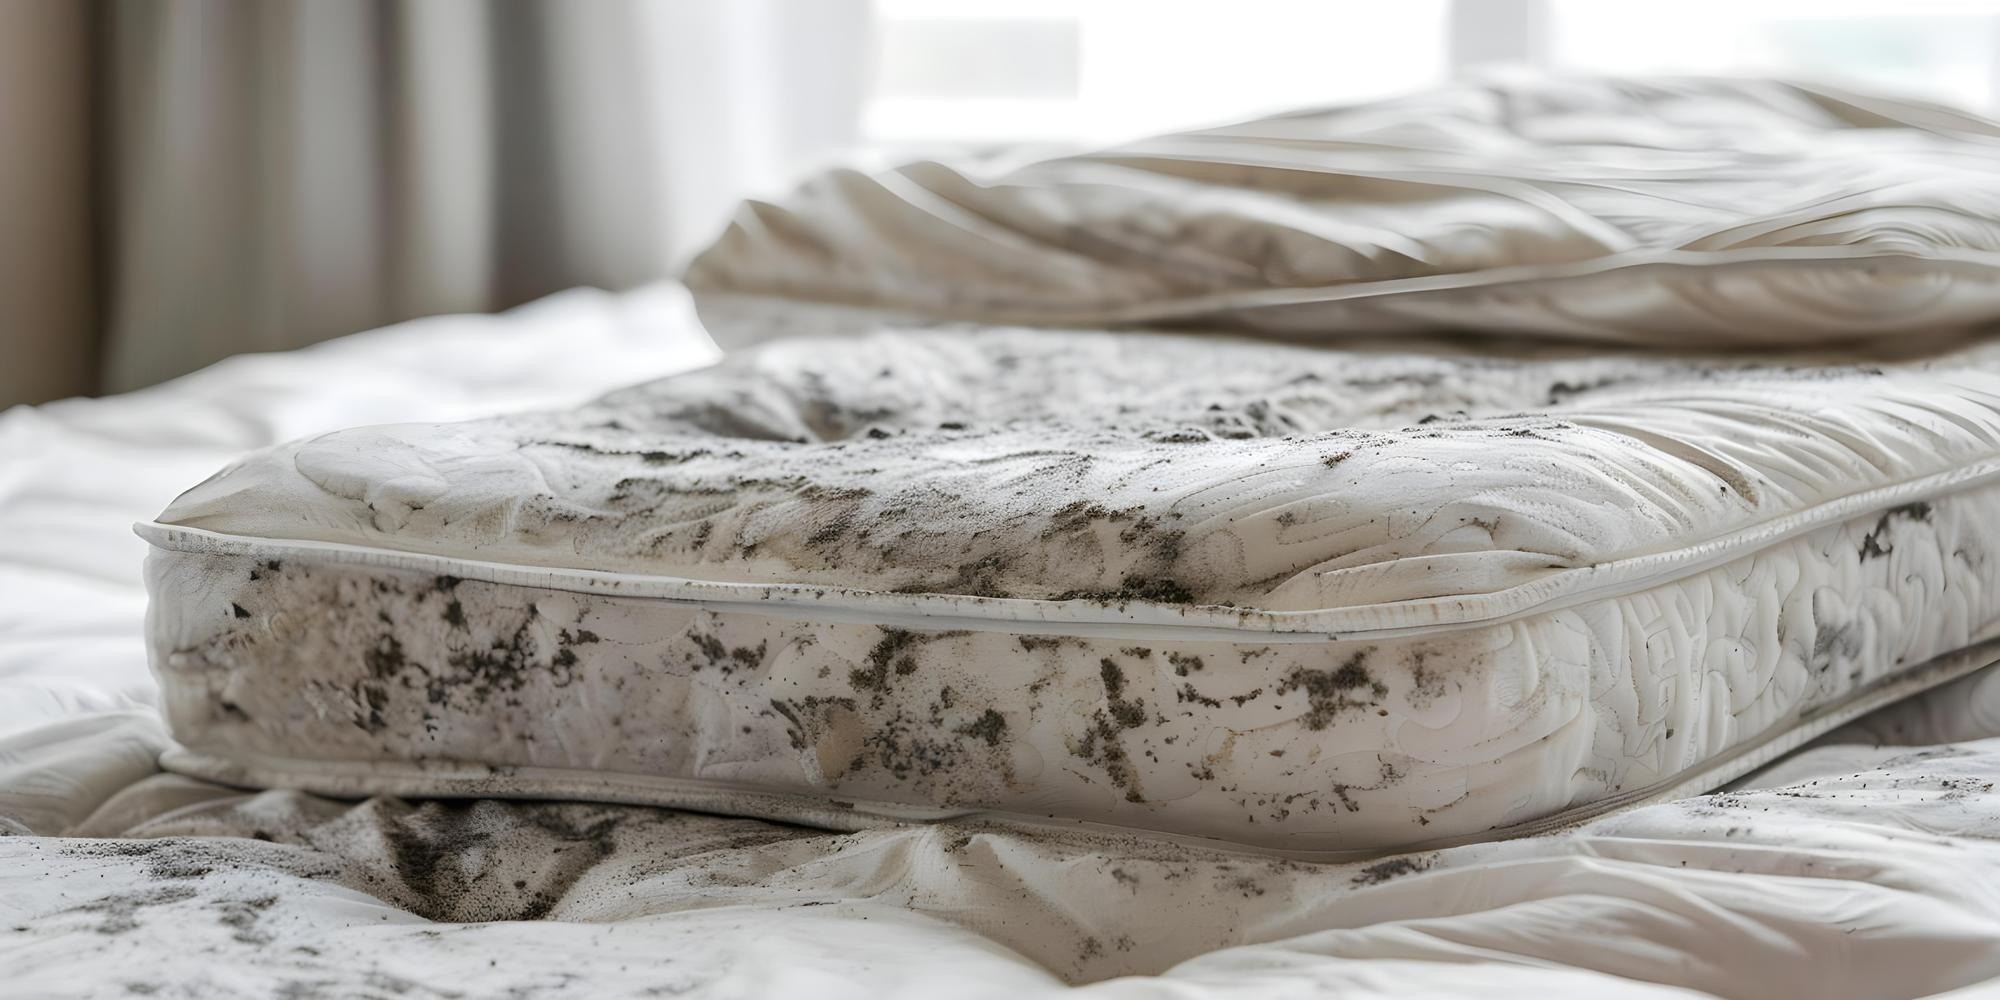
Carpets, underlay, mattresses, pillows, wicker baskets, books, cardboard, and clothing.
Discard and replace immediately.
Spores and fungal roots embed deep into these fibres. If they have been damp for more than two weeks, they cannot be salvaged.
Semi-Porous
Solid timber, treated wood, concrete, and unglazed tiles.
Variable.
Cleanable with deep-penetrating agents, but requires extended drying times and careful monitoring.
Non-Porous
Hard plastics, glass, metals, and glazed ceramic tiles.
Fully salvageable.
Cleanable with surface-level disinfectants or detergents.
How it works: Bleach works via pH chemistry to break down proteins. It is incredibly effective at sanitising hard, flat, non-porous surfaces (such as metals or glazed tiles).
The Porous surface trap: Bleach is a major failure on porous surfaces like plasterboard, grout, or raw wood. Because chlorine is highly reactive, it spends its chemical energy on the very top layer, stripping the colour out of the mould so it looks clean. However, the water component of the bleach solution sinks deep into the material’s pores. This water feeds the deeply embedded fungal roots (hyphae), causing the mould to grow back faster and stronger within a few weeks.
The Shelf-Life Risk: Bleach degrades rapidly on the shelf. If you are using a bottle that has been open for several months, its concentration of sodium hypochlorite may be too low to be effective.
2. White Vinegar
How it works: Diluted white vinegar (a 50/50 mix with water or a strong 9-to-1 vinegar-to-water ratio) is a highly effective, natural acid. It penetrates porous materials much better than bleach and is clinically proven to kill approximately 82% of mould species.
3. Clove Oil (The Australian Remediation Hero)
How it works: Clove essential oil is widely regarded by Australian restoration specialists as the premier natural mould killer. Its active compound, eugenol, penetrates the outer cellular membrane of fungi, aggressively destroying the spores and root structures rather than just inhibiting growth.
Application: Mix 1 teaspoon of pure clove essential oil into 1 litre of water in a spray bottle. Spray the surface, leave it to dwell for 20 minutes, scrub gently, and wipe clean.
Critical Chemical Safety Warning
Never mix chlorine bleach with vinegar, ammonia, acids, or other household cleaners. Doing so triggers an immediate chemical reaction that releases highly toxic chlorine or chloramine gas, which can cause severe respiratory damage or asphyxiation.
Operational Step-by-Step – The “Three-Bucket” Cleanup Protocol
To prevent the accidental spread of mould to clean parts of your home (cross-contamination), adopt the professional Three-Bucket Method advocated by environmental microbiologists.
What You Need
Three clean buckets.
Your chosen cleaning solution (e.g., undiluted white vinegar or clove oil solution).
A supply of high-quality microfibre cloths (microfibre has a natural electrostatic charge that traps microscopic spores deep in its crevices).
The Process
Set up the buckets:
Bucket 1: Fill with your active cleaning solution (e.g., vinegar).
Bucket 2: Fill with clean, warm water (Rinse Phase 1).
Bucket 3: Fill with clean, warm water (Rinse Phase 2).
Wipe the surface: Dip a fresh microfibre cloth into Bucket 1. Gently wipe a small patch of mould. Working in small, methodical sections prevents spores from drifting.
The Double-Rinse Cycle:
Take the dirty cloth and plunge it into Bucket 2 to wash off the bulk of the organic matter.
Move the cloth to Bucket 3 for a final clean rinse.
Squeeze the cloth dry before returning it to Bucket 1 to collect fresh cleaning solution. This ensures you never contaminate your primary cleaning mixture with live spores.
Post-Clean Laundry:
Microfibre cloths can be washed on a hot cycle (preferably with a splash of vinegar) and reused up to 100 times.
Wash the clothes you wore during the cleanup separately from your standard household laundry to prevent spore transfer.
The Grout and Silicone Sealant Challenge
Bathroom grout is semi-porous; if it is intact and just discoloured, it can usually be scrubbed clean. However, silicone sealants around baths, sinks, and showers are a different story.
When mould establishes itself on silicone, its roots (hyphae) grow directly into the synthetic matrix. No chemical spray can penetrate deep enough to kill these roots. The only permanent fix is to physically cut out the old silicone, thoroughly sanitise the underlying gap, and re-apply a sanitary-grade silicone sealant containing a high-quality mould inhibitor.
Building Physics – Controlling the Indoor environment
Mould remediation is completely temporary if you do not correct the underlying environmental factors. Fungal spores require moisture, stagnant air, and organic nutrients (dust, dead skin cells) to germinate.
The Dew Point Variable
The single most critical concept in permanent mould prevention is the dew point—the temperature at which gaseous water vapour in the air condenses into physical water droplets on solid surfaces.
Surface Condensation: When warm, humid air hits a cold surface (such as a windowpane, concrete floor, or the drywall behind a heavy wardrobe), it cools down. If the temperature of that surface drops within 3°C to 4°C of the dew point, micro-condensation occurs silently. This invisible layer of water triggers spore germination long before any physical stain appears.
The Prevention Metric: To suppress fungal germination, global building guidelines recommend keeping indoor relative humidity strictly between 30% and 50% (or up to 45-55% for safety), ensuring the indoor dew point remains low.
Air Purifiers vs. Dehumidifiers: What Do I Need?
To treat your home as a holistic environmental system, you must understand how different air management technologies complement each other:
Dehumidifiers (Managing the Climate): These devices target the physical environment by drawing moisture out of the air and keeping indoor relative humidity below the critical 50% threshold. This effectively cuts off the water supply that mould needs to grow, preventing new colonies from germinating. However, dehumidifiers do not filter or remove existing airborne spores, dust, or MVOC odours.
Air Purifiers (Managing the Biological Load): These devices target the biological air quality by filtering out airborne mould spores, allergens, and fine dust particles, preventing them from being inhaled or settling onto surfaces. Many models equipped with activated carbon filters also help neutralise persistent MVOC odours.
Air Conditioners & Ductwork: The Blown-In Musty Odour
If a strong, damp smell blasts into your room the moment you turn on the air conditioning, your unit’s internal components have likely become an airborne spore distribution hub. A mould in air conditioner split system setup occurs due to three primary hidden traps:
Cooling Coils (Evaporator Coils): As warm indoor air passes over freezing coils, rapid condensation occurs. Dust and organic debris stick to wet coil fins, providing a rich nutrient base for fungal colonies to thrive in total darkness.
Blocked Drip Pans and Drain Lines: Condensation drains into a drip pan beneath the coils. If algae or dust clogs the drain pipe, standing water stagnates, giving off a stale, swampy odour that gets sucked back into your living space.
Internal Fan Scrolls and Flexible Ductwork: Moisture traveling down uninsulated flexible ductwork creates micro-condensation pockets where airborne spores settle and multiply out of sight.
How to Fix It
Clean washable mesh filters monthly in warm, soapy water. Spray the coils with a coil-safe sanitiser or diluted hydrogen peroxide 3% for mould neutralisation. Ensure the external drain line runs freely, and engage a licensed technician for a high-pressure wet wash if the internal blower wheel is caked in dark biofilm.
Natural Moisture and Odour Absorbers
For small, enclosed spaces with minimal air movement (like wardrobes, pantry corners, or drawers), supplement your air treatment with natural, non-chemical moisture and odour absorbers:
Baking Soda: Placed in open bowls, it neutralises acidic MVOC odours.
Activated Charcoal: Excellent for absorbing both moisture and stale smells.
Huon Pine (Australian Native Solution): Natural Huon pine shavings breathe with the environment, absorbing excess humidity and preventing damp mustiness in delicate storage areas.
Managing Mould in Rental Homes & Condos
Managing mould as a tenant in a house or apartment block introduces legal and logistical complexities. Under Australian tenancy laws, resolving mould disputes hinges entirely on identifying the root cause of the moisture.
1. The Moisture Investigation: Who is Responsible?
The Landlord’s Responsibility (Structural Defect)
If the mould is caused by a structural issue or a failure of building maintenance, the landlord is legally obligated to repair the defect and cover the cost of professional remediation. Examples include:
A leaking roof, damaged gutters, or cracked exterior walls.
Burst or slowly leaking water pipes inside wall cavities.
A malfunctioning hot water system or building-wide HVAC failure.
Rising damp due to a failed damp-proof course or poor sub-floor ventilation.
The Tenant’s Responsibility (Lifestyle & Behavioural Moisture)
If the mould is caused by a failure to maintain reasonable ventilation or cleanliness within the home, the tenant is responsible for cleaning the mould and preventing its return. Examples include:
Regularly drying wet washing indoors on clothes racks without opening windows or running exhaust fans.
Failing to turn on mechanical exhaust fans in the bathroom or kitchen during and after showering or cooking.
Allowing thick dust, soap scum, or cooking grease (which serve as nutrient sources for fungi) to accumulate on walls and ceilings.
Leaving spills, wet towels, or damp bathmats on floors for extended periods.
2. Solutions for Apartment and Condo Living
Condominium apartments are highly prone to condensation due to thermal bridging (concrete slabs transferring heat) and a lack of cross-ventilation. Because renters cannot make structural changes, they should focus on non-invasive climate control:
The 30cm Rule: Position wardrobes, sofas, and bedheads at least 30 cm away from external-facing walls to allow air to circulate freely behind them, preventing stagnant micro-climates from dropping below the dew point.
Utilise Air Conditioner Dry Mode: Most modern split-system air conditioners feature a “Dry Mode” (typically represented by a water droplet icon). Running this mode regularly extracts moisture from the air column far more efficiently than standard cooling mode, helping to suppress mould germination in humid coastal areas.
Documenting Mould Issues: If you suspect a structural leak is causing mould, take high-resolution photos immediately. Use a simple humidity sensor (hygrometer) to log daily relative humidity levels and report the issue to your property manager in writing as an urgent repair.
Preventing Mould in the Long Run
To Preventing Mould and musty smells never return to your home, integrate these simple habits into your household routine:
Daily Habits
Squeegee your shower: Wipe down wet tiles and glass right after showering. This removes water and soap scum, which mould loves to eat.
Keep fans running: Leave your bathroom and kitchen exhaust fans on for 15 minutes after showering or cooking to clear out moisture.
Let the sunshine in: Open your curtains and blinds every day. Mould grows best in dark, hidden areas and hates natural sunlight.
Wipe spills instantly: Dry up any pools of water on kitchen counters, windowsills, or floors as soon as you see them.
Weekly & Monthly Habits
Wash bath mats and towels: Launder your bath mats, towels, and tea towels weekly. Hang them up to dry fully right after use; never leave them crumpled on the floor.
Dehumidify closed spaces: Open up wardrobes and cupboards regularly to let fresh air circulate. You can also place moisture-absorbing packets inside them.
Check your indoor plants: Avoid overwatering your houseplants, as damp soil is a perfect breeding ground for surface mould.
Keep a gap behind furniture: Pull your sofas, beds, and wardrobes a few centimetres away from the walls to allow proper airflow.
Seasonal Structural Checks
Clear Gutters and Downpipes: Before the rainy season, ensure your gutters are free of leaves to prevent rainwater from overflowing into wall cavities.
Inspect HVAC Filters: Replace your air conditioner and heater filters every 3 to 6 months. Colonized filters will blow millions of viable spores directly into your living spaces.
Sub-Floor Ventilation: Ensure under-house vents are clear of dirt, plants, or stored items to prevent rising damp.
Hidden Appliance Biofilm and Dry Plumbing Traps
Not all musty smells stem from structural wall dampness. Everyday laundry appliances and plumbing drains frequently harbor microbial slime that vents damp smells directly into bedrooms and laundries:
Front-Loader Rubber Gaskets: The flexible rubber door seal on a front loader washing machine mould smell outbreak is a classic culprit. Trapped water, lint, and detergent residue build up inside the rubber folds, forming a thick bio-film of bacteria and yeast.
Solution: Leave the washer door and detergent drawer ajar after every wash to dry the interior. Wipe the inner rubber seal weekly with a microfibre cloth soaked in white vinegar, and run a monthly hot maintenance cycle ($90^\circ\text{C}$) with washing soda or a dedicated washer cleaner.
Dry P-Traps and Floor Wastes: Guest bathrooms, laundry floor wastes, and unused sinks rely on a curved pipe (the P-trap) filled with water to block sewer gases. If a sink sits unused for weeks, the water seal evaporates, causing a dry P-trap sewer gas smell that mimics damp, rotten timber.
Solution: Pour one litre of warm water down infrequently used floor wastes and sink drains once a week to reset the water trap seal, followed by half a cup of baking soda and vinegar to flush out pipe biofilm.
When to Call the Professionals
If you encounter a mould outbreak in your home, use the 1-Square-Metre Rule to determine if you can safely handle it yourself.
Under 1 m²: If the mould is confined to a small, localized patch (such as a corner of bathroom grout) and you are not in a high-risk group, you can safely clean it yourself using the steps in this guide.
Over 1 m²: If the mould covers a continuous area larger than 1 square metre, if the home has sustained major flood damage, or if the contamination has entered the HVAC ducting, you must call a certified professional mould remediator. Attempting to clean large outbreaks without containment gear will contaminate your entire home and pose severe risks to your health.
Frequently Asked Questions
Why does my house smell musty even if there is no visible mould?
Musty smells come from Microbial Volatile Organic Compounds (MVOCs)—gaseous byproducts released by actively feeding fungi trapped out of sight inside wall cavities, beneath carpet underlay, behind built-in wardrobes, or inside air vents.
Does bleach eliminate musty mould smells permanently?
No. Bleach only removes surface discolouration on hard surfaces. On porous materials like plasterboard or grout, the chlorine stays on top while the water component sinks deep into the material, feeding embedded fungal roots and causing the odour to return.
Why does my air conditioner smell musty when I turn it on?
Moisture condensing on internal cooling coils, combined with trapped dust and stagnant water in blocked drip pans, creates an ideal environment for microbial biofilm. When turned on, the blower wheel distributes spores and damp odours into your room.
When should I call a professional mould remediator?
Follow the 1-Square-Metre Rule: if the contaminated area exceeds 1 m², involves structural flood damage, or has spread throughout HVAC ductwork, hire a certified professional equipped with full containment gear to prevent cross-contamination.
Limited-Time Offer
Transform Your Indoor Air Quality
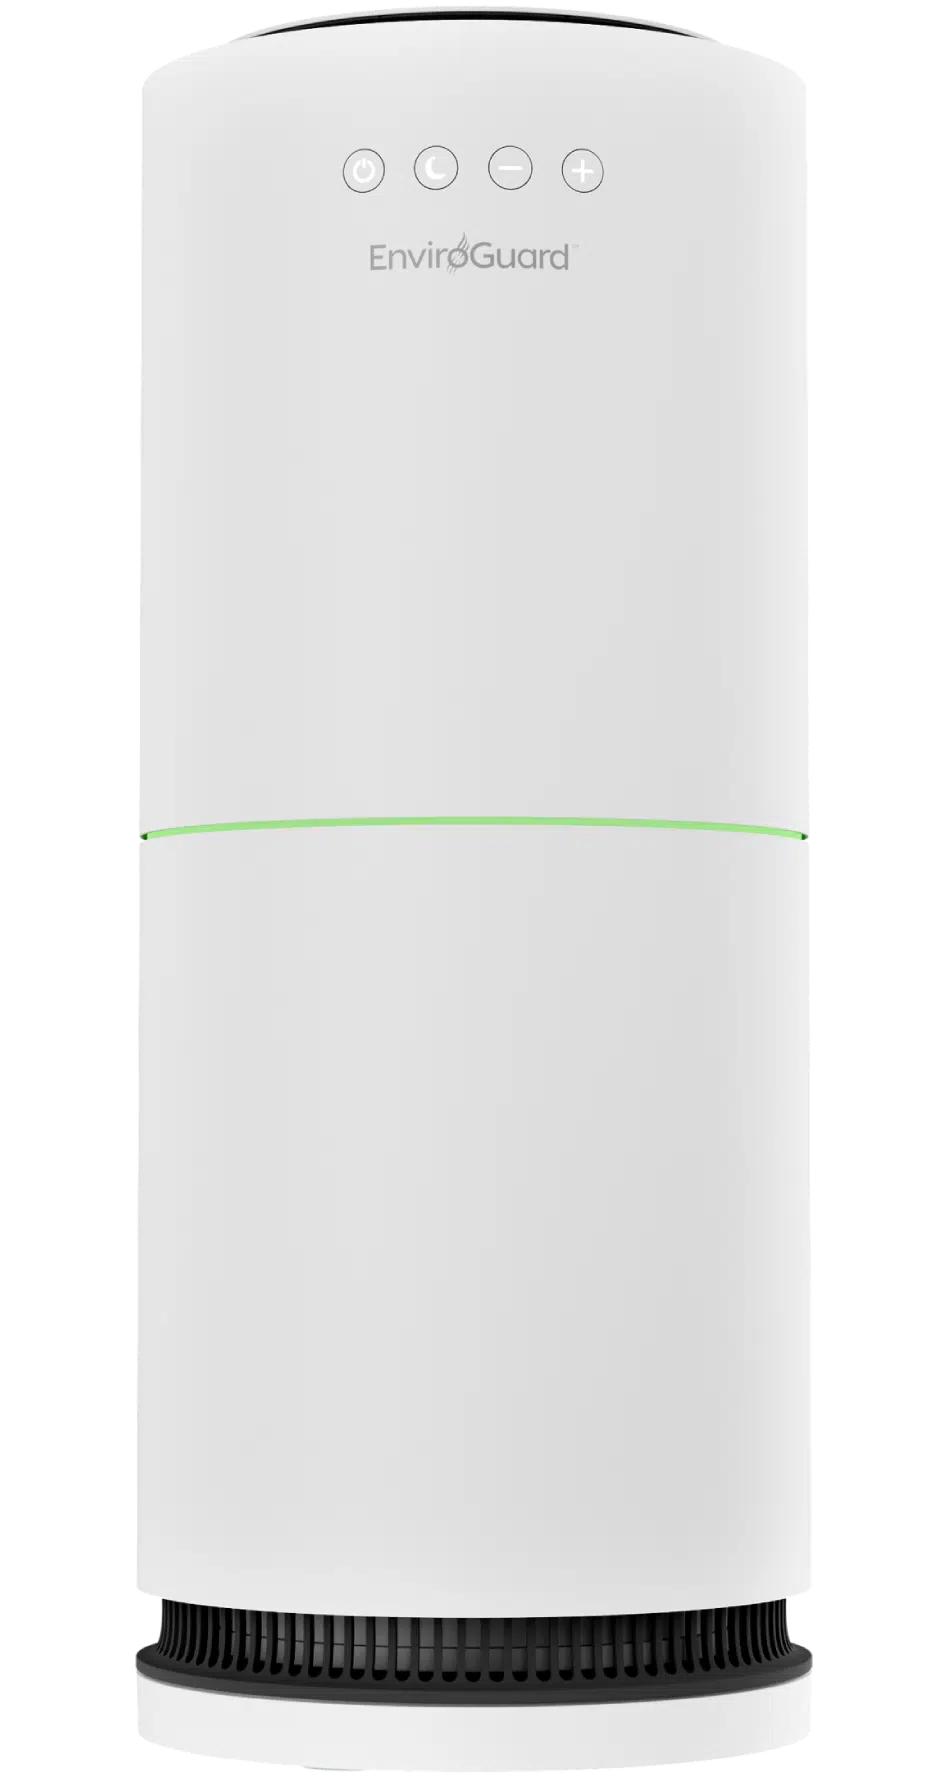
Upgrade to the innovative EnviroGuard PRO™ X today for only $790 (Was $1,590). Claim your $800 saving now and breathe cleaner, healthier air tomorrow.
Quick ways to get rid of cooking smells: Ventilate early: Turn on your rangehood 2-3 minutes before cooking and leave it running for 10-15 minutes after. Remove the source: Empty sink strainers, rinse away food residue, and flush drains with hot water promptly. Clean surfaces immediately: Wipe down greasy […]
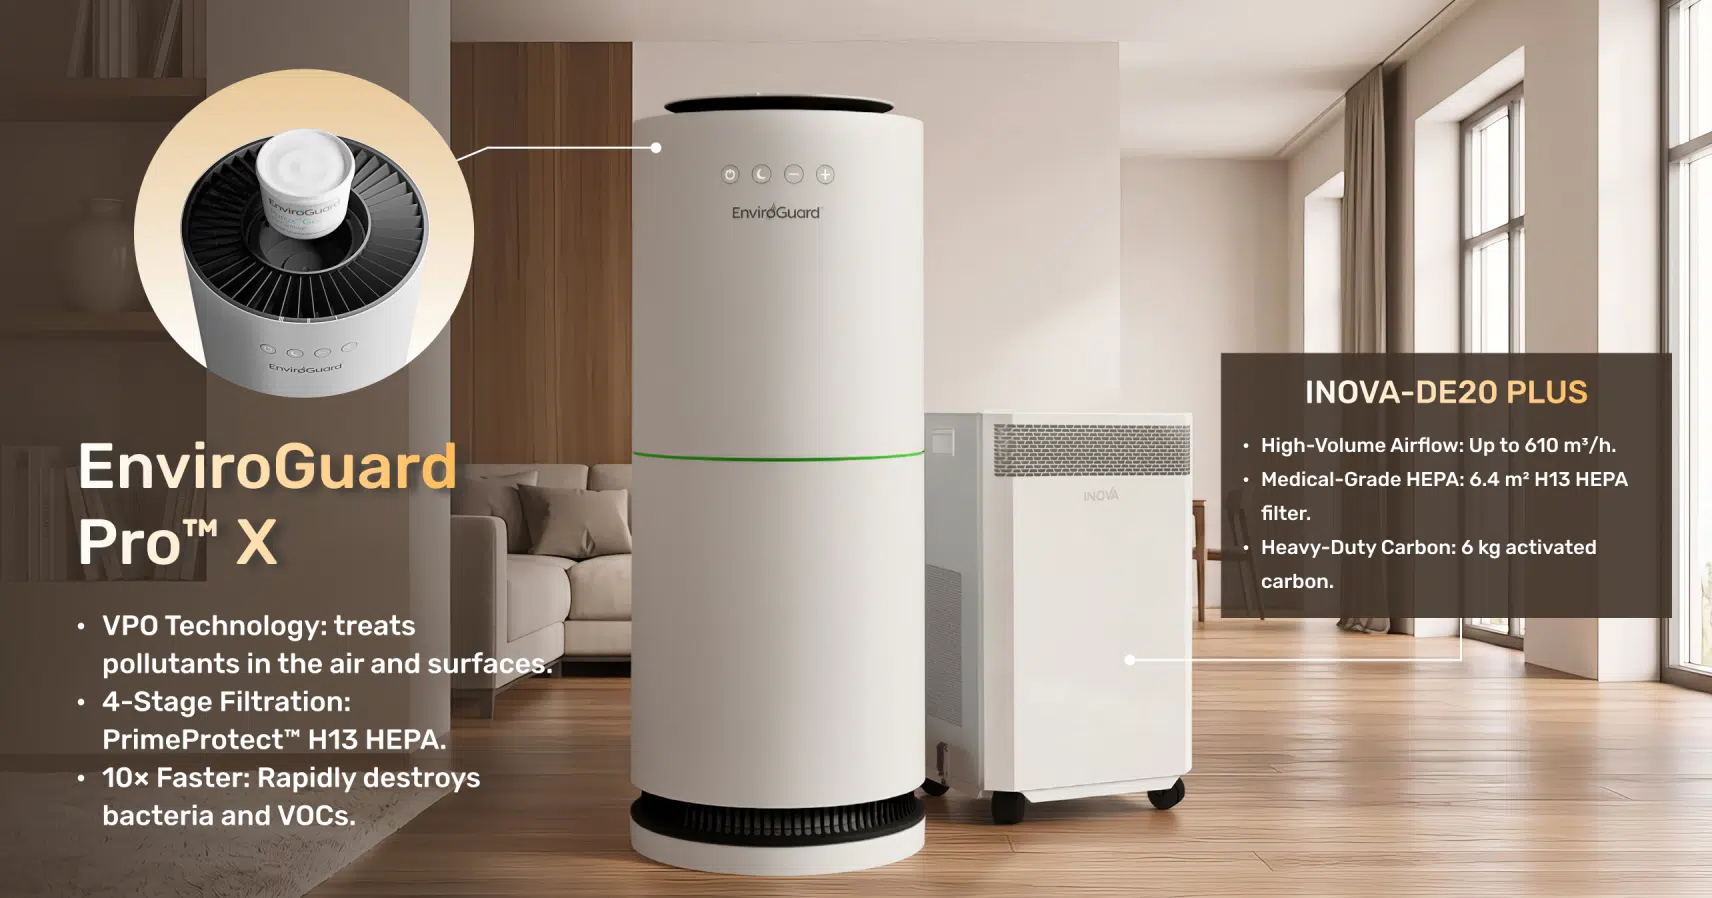
When people compare premium Australian air purifiers, VBreathe EnviroGuard PRO™ X and InovaAir AirClean DE20 Plus are often placed side by side. On paper, both sit at the premium end of the market. Both are built for serious indoor air concerns. Both use high-quality filtration. But once you look […]
Whenever you step into a newly renovated home or bring brand-new furniture into a room, you often notice a distinct, unfamiliar scent—commonly referred to as that “new home” or “brand-new” smell. While many people consider this a normal part of buying new items, this odour can actually be a […]
Indoor mould and persistent damp smells are far more than aesthetic annoyances or routine housekeeping chores. In Australia’s diverse climate—ranging from the chilly, high-condensation winter months in Melbourne and Sydney to the intense, humid tropical summers of Queensland—mould is a serious structural and biological hazard. Modern, energy-efficient homes often […]
In short, while the noticeable odor from new paint and adhesives typically dissipates within a few weeks, this does not mean the VOCs have cleared; these harmful compounds often persist long after the smell has faded., but VOCs (Volatile Organic Compounds) from a renovation don’t actually leave when the […]
¹ Tested in independent Australian laboratories under controlled conditions using airborne mould spores, bacteria and allergen particulates (0.3μm–10μm).
² Based on third-party testing results confirming 99.9% reduction in airborne mould spores and pet dander when using EnviroGuard Pro X with Purox™ Gel over 24 hours.
³ Independent testing by ICAS Testing Technology Service (Shanghai) Co., Ltd. demonstrated 99.99% reduction in airborne Staphylococcus Albus bacteria within 30 minutes in a 20m² test chamber, in accordance with Technical Standard for Disinfection GB 27948-2020.
⁴ Surface efficacy testing conducted by Eurofins BioPharma Product Testing — Sydney (Eurofins ams Laboratories Pty Ltd, TGA-licensed under MI-2021-LI-08995-1). Reductions over 8 hours: 99.99% Pseudomonas Aeruginosa, 99.9% Escherichia Coli, 90% Candida Albicans Yeast.
⁵ "10x faster than conventional filtration" comparison based on EnviroGuard Pro X achieving log 4 (99.99%) airborne bacterial reduction in 30 minutes, compared with log 1 (90%) pathogen reduction in 20 minutes reported for hospital HEPA systems operating at 12 air changes per hour (Fernstrom A, Goldblatt M. Aerobiology and its role in the transmission of infectious diseases. J Pathog. 2013;2013:493960).
⁶ Performance varies based on room size, airflow configuration, fan speed setting, environmental conditions and usage patterns.